The Fortress Falls Walkthrough
By the guide's count of the forces on each side, this is the hardest mission in the original game. On Medium you start with a Commander, three Pyros and two Finks. Arm holds the northern two thirds of the map with 214 units, among them 13 Sentinels, two Annihilators, a Big Bertha and more than a hundred tanks, Kbots and aircraft. You win only when every one of them is destroyed.
The odds are better than they look. Arm starts with 100 metal and 100 energy, and most of its army stays where it is until a timer runs out or one of its towers is attacked. You can build a full base in the south, beat each raid as it arrives, and then break the fortress from outside its reach.
The Battlefield
Three ridges cross the middle of the map. A valley runs north between the central ridge and the eastern one, and the Sentinels are spread along the ridges and across that valley. Arm's factories, its Fusion Reactor, the Big Bertha and both Annihilators are north of the ridges. A Millenium battleship lies in the lake in the north-west corner.
The numbers on the map are the plan; the letters are Arm's positions. The units shown are those of Medium, and hovering over a dot shows its orders.
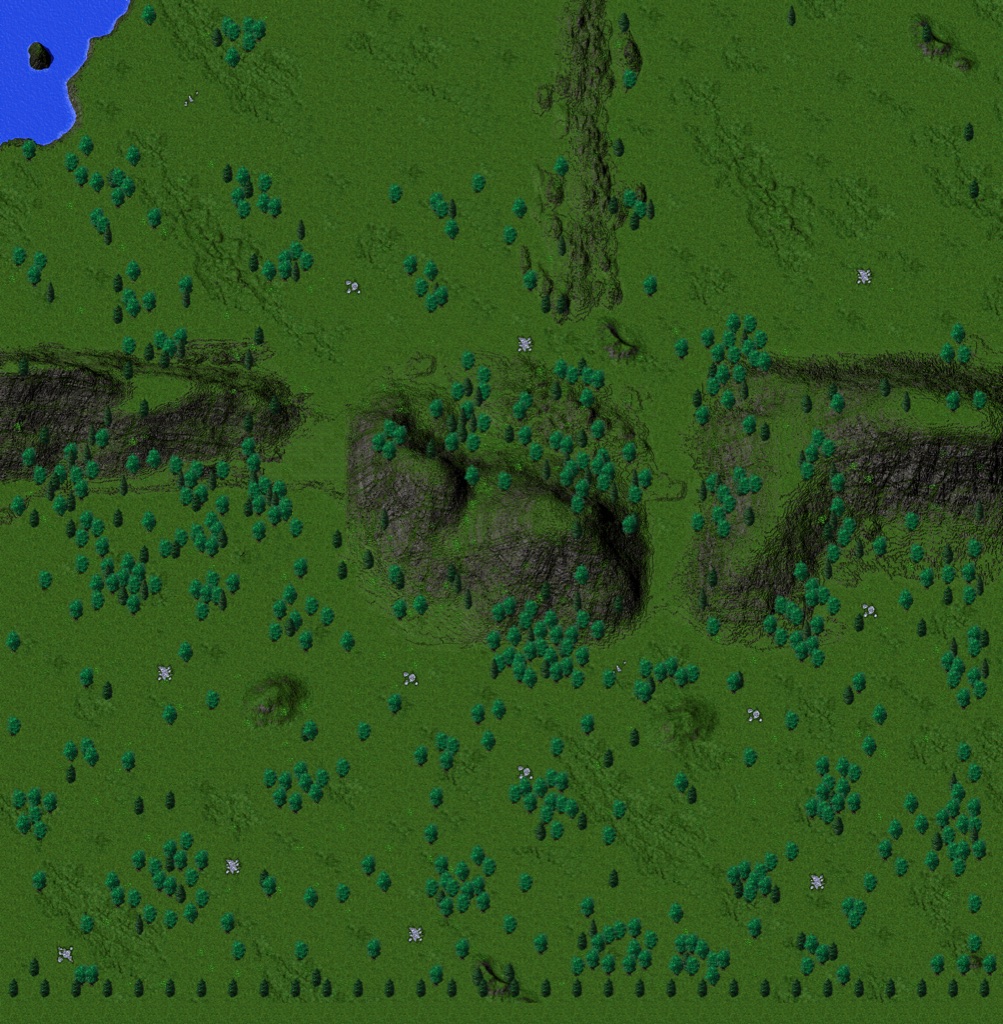
1 geothermal vents
- 1Your start. A metal deposit worth 223, the richest value on the map, lies right beside the Commander.
- 2A second deposit worth 223, a short walk east.
- 3Two more deposits in the south-west corner, worth 223 and 187.
- 4Your defence line: Gaat Guns first, then Pulverizers.
- 5The artillery line. Punishers here reach four Sentinels and stay out of range of both Annihilators.
- 6The Intimidator site. From here it reaches the Big Bertha, both Annihilators and the battleship.
- 7A geothermal vent. It is worth having, but a Fido patrol passes over it from 23:20.
- 8The eastern valley, your way north once its Sentinels are gone.
- AThree Fidos with orders to kill your Commander, at 13:20 and 15:00.
- BAn Atlas carrying an Invader crawling bomb.
- CAt 31:40 the Atlas drops the Invader here, next to your start.
- DEight Zippers patrol from here to E from the first second.
- EThe east end of the Zipper patrol.
- FThree Invaders. When the Sentinel at the south end of the valley is attacked, they run south and blow themselves up.
- GAn Annihilator. Its range is 1200.
- HThe second Annihilator.
- IThe Big Bertha. It holds its fire until 70:00.
Arm's Timetable
Almost every Arm unit that moves does so on a timer. These are the ones that come for you on Medium, counted from the start of the mission.
| Time | What happens |
|---|---|
| From the start | Eight Zippers patrol between D and E. Three Brawler gunships patrol across the middle of the map, from the west edge to the east edge. Two Peepers fly over your base. |
| 13:20 | One Fido sets off to attack your Commander. |
| 15:00 | Two more Fidos follow it. |
| 20:00 | Four Freedom Fighters attack your Light Laser Towers, then your Gaat Guns, wind generators, energy storage and Commander, in that order. Two more follow at 20:10. The Aircraft Plant in the north-west starts building six more. |
| 23:20 | Six Fidos start patrols south of the ridges: three over the geothermal vent, three in the south-east. |
| 30:00 | A Brawler attacks your Commander. Three Zippers patrol from the central fortress down to your start. |
| 31:20 | Three Brawlers attack your Gaat Guns, Light Laser Towers, radar and Fusion plants. |
| 31:40 | The Atlas drops its Invader at C. |
| 41:05 | Two Lugers attack your Gaat Guns, then your Light Laser Towers. |
| 46:40 | Two Brawlers attack your Commander. Four Thunder bombers attack your energy storage, Fusion plants, wind generators, radar, Vehicle Plant and Commander. Four Bulldogs move to a line just north of marker 5 and wait there. A Merl comes for your Fusion plants and Intimidators. |
| 55:00 | One Invader heads for your Commander. Another walks to the south-east corner and explodes there. |
| 59:15 | Four Hawks hunt your aircraft. Two Brawlers attack Gaat Guns, Light Laser Towers, Crashers, Slashers, Fusion plants and Goliaths. |
| 65:00 | Six Hawks attack your Commander. Two Phoenix bombers attack your Fusion plants, Punishers, Intimidators and Doomsday Machines. |
| 70:00 | The Big Bertha opens fire on your towers, Mobile Artillery, Punishers, Cans, Fusion plants and Intimidators. |
| 75:56 | Four more Brawlers attack your Gaat Guns and Goliaths. |
| 77:40 | Five Phoenix bombers attack your Fusion plants, Intimidators, Adv. Aircraft Plant and Gaat Guns. |
The Plan on Medium
Build the Base (0:00 to 13:00)
- Put a Metal Extractor on the deposit beside the Commander, then a few Wind Generators. The wind here never drops below 781, so they always make some energy.
- Build a Kbot Lab and send Construction Kbots to the deposits at 2 and 3.
- Keep one Fink over your base. Its radar reaches 650, so you see the Fidos and the Zippers coming.
- Before 13:00, put two or three Gaat Guns at 4 and keep the Commander at least 150 behind them. The Fidos out-range a Gaat Gun (480 against 400), but they are ordered to kill the Commander, so they drive into the towers' reach to get at it. The Pyros and the Commander's Disintegrator finish anything that gets close.
Hold the Raids (13:00 to 32:00)
- By 20:00, ring the base with Pulverizers. Their missiles reach 700 and do 95 damage to aircraft, and a Freedom Fighter has only 196 hit points. The Freedom Fighters go for Light Laser Towers first, so one Light Laser Tower under the Pulverizers draws them in.
- Add Solar Collectors or more wind, then a Fusion Power Plant as soon as you can afford one. Everything later in the plan costs a great deal of energy.
- At 30:00 three Zippers come straight down to your start, and a Brawler goes for the Commander. A Zipper has 550 hit points and a laser with a range of 210, so the Gaat Guns deal with them.
- Watch point C at 31:40. The Invader is a crawling bomb with 185 hit points. Kill it as it lands, before it can reach the Commander or your Fusion plant.
Break the Line (32:00 to 70:00)
- Build an Adv. Construction Kbot and put Punishers at 5. Their range of 1200 beats a Sentinel's 430, and four shells destroy a Sentinel. From here they reach the Sentinels at the south end of the central ridge, at the bottom of the valley and in the south-east.
- Build an Intimidator at 6, guarded by Cobras. One shell does 2400 damage, more than the Big Bertha (1800) or an Annihilator (1410) can take. Destroy the Big Bertha first, well before 70:00, then both Annihilators, then the Fusion Reactor, whose death blast damages the factories around it.
- Expect the four Bulldogs that arrive in front of the Punishers at 46:40. They wait until they are attacked, and the Punishers will start on them anyway.
- Each Sentinel you hit can wake a group. Read the list in Traps before you move the artillery up to the valley.
Clear the North
- With both Annihilators gone, move the Punishers forward and clear the Sentinels around the valley at 8.
- Push north through the valley with Goliaths and Reapers, with Slashers for cover against the Brawlers. Destroy the factories first, so nothing new comes out.
- Sweep the map edge by edge. Arm's patrols and its parked units are spread everywhere, and every last unit must go. Leave the Millenium battleships to the Intimidator, or to bombers once Arm's aircraft are dead.
What Changes on Hard
- You start with two Pyros and one Fink instead of three and two.
- Arm has 265 units instead of 214: 22 Fidos instead of 12, 34 Bulldogs, 30 Brawlers and 15 Sentinels.
- The Aircraft Plant starts its Freedom Fighters at 15:00, not 20:00, so your Pulverizers must be up five minutes sooner.
- A second Atlas drops another Invader at (1248, 2733), just east of your start, also at 31:40.
- There are two Big Berthas. One opens fire at 60:00, the other at 63:20 on your Solar Collectors, Gaat Guns, Punishers, radar and factories. The Intimidator has to start earlier.
- There is only one Annihilator, further north and west at (928, 640), and there are two battleships in the lake.
- The computer player keeps all the income its buildings make, against 70 percent on Medium.
Which Units Beat Theirs
| Arm unit | Its threat | Your answer |
|---|---|---|
| Sentinel | Laser, 180 damage, range 430 | Punisher (range 1200) or Diplomat rockets (range 800, 500 damage) |
| Bulldog | 2102 hit points, plasma cannon with range 320 | Goliath (2845 hit points, range 400) or Gaat Guns (range 400) |
| Fido | Gauss cannon with range 480 | Punishers, or close in with Reapers and Pyros |
| Brawler | Gunship, 920 hit points | Cobra flak at home, Slashers with the army |
| Annihilator | 2500 damage at range 1200 | Intimidator from range 5120 |
| Big Bertha | Reaches the whole map | Intimidator, before 70:00 |
| Invader | Crawling bomb | Kill it at range. It has 185 hit points. |
Metal and Energy
The ground holds very little metal: the surface value is 3 everywhere. All your metal comes from the 17 deposits, and only the ones south of the ridges are safe. The four at 1, 2 and 3 are the core of your economy, and there are more at (504, 2104), (1256, 2120), (1608, 2408) and (2504, 2744) once the base is defended.
Energy is easier. Wind generators work well here, and the geothermal vent at 7 gives a Geothermal Powerplant 250 energy, once the Fido patrol over it is dealt with. A Fusion Power Plant makes 1050, and an Intimidator costs 62,520 energy, so plan for more than one.
Traps
- Attacking some Sentinels releases the units that guard them. The tower at the top of the valley (2048, 1203) frees six Bulldogs and six Brawlers, and those Brawlers go straight for your Reapers. The one at its south end (2055, 1544) sends the three Invaders at F running south to explode around (1900 to 2050, 1900 to 2200), right where your army would stand. The tower north of it at (1926, 1060) frees three Bulldogs, the western gap tower at (997, 1192) frees five, and the one at (1696, 1696) frees two Merls. An attack on the Adv. Kbot Lab in the north-east frees three more Bulldogs.
- An Invader that blows itself up does up to 2500 damage within 278 pixels. One that is killed still explodes, for up to 1200 damage within 137 pixels, so shoot Invaders from range.
- The Fusion Reactor, the Annihilators and the Big Bertha all die in an atomic blast of up to 2000 damage within 258 pixels. Keep your own units away when they go.
- Arm's air attacks pick their targets by type. Light Laser Towers and Gaat Guns are first in line for the early raids, and Fusion plants and Intimidators for the late ones. Put your anti-air where those buildings are.